THE PROCESS
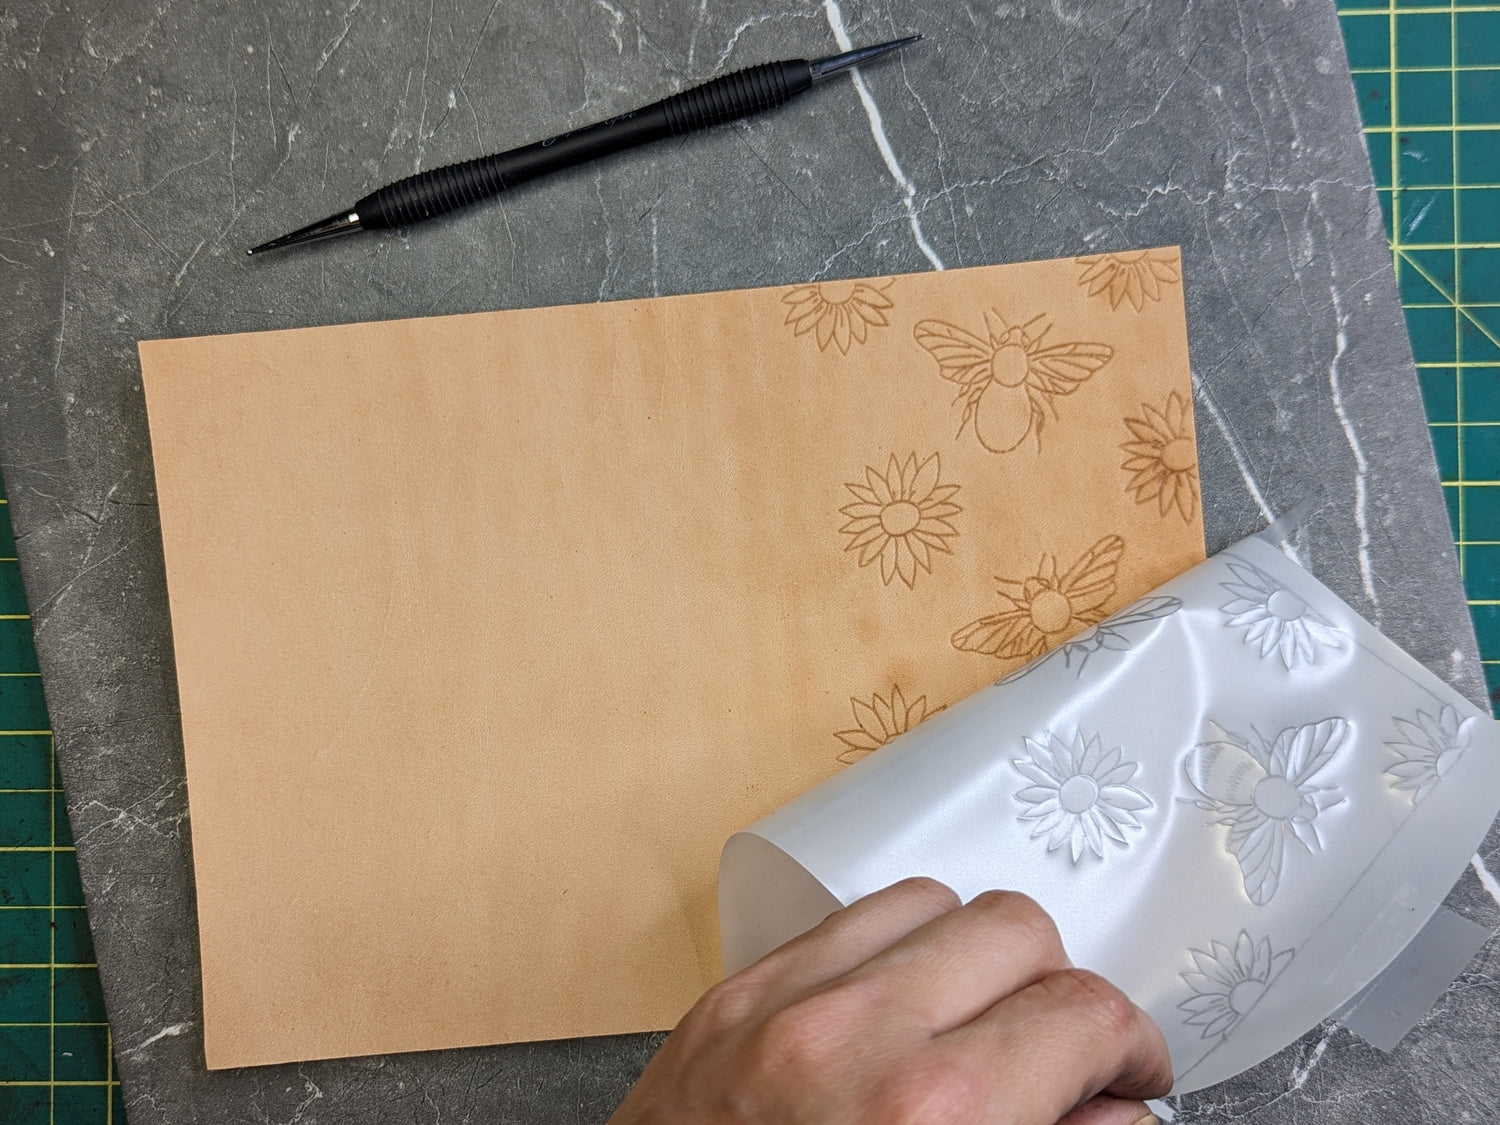
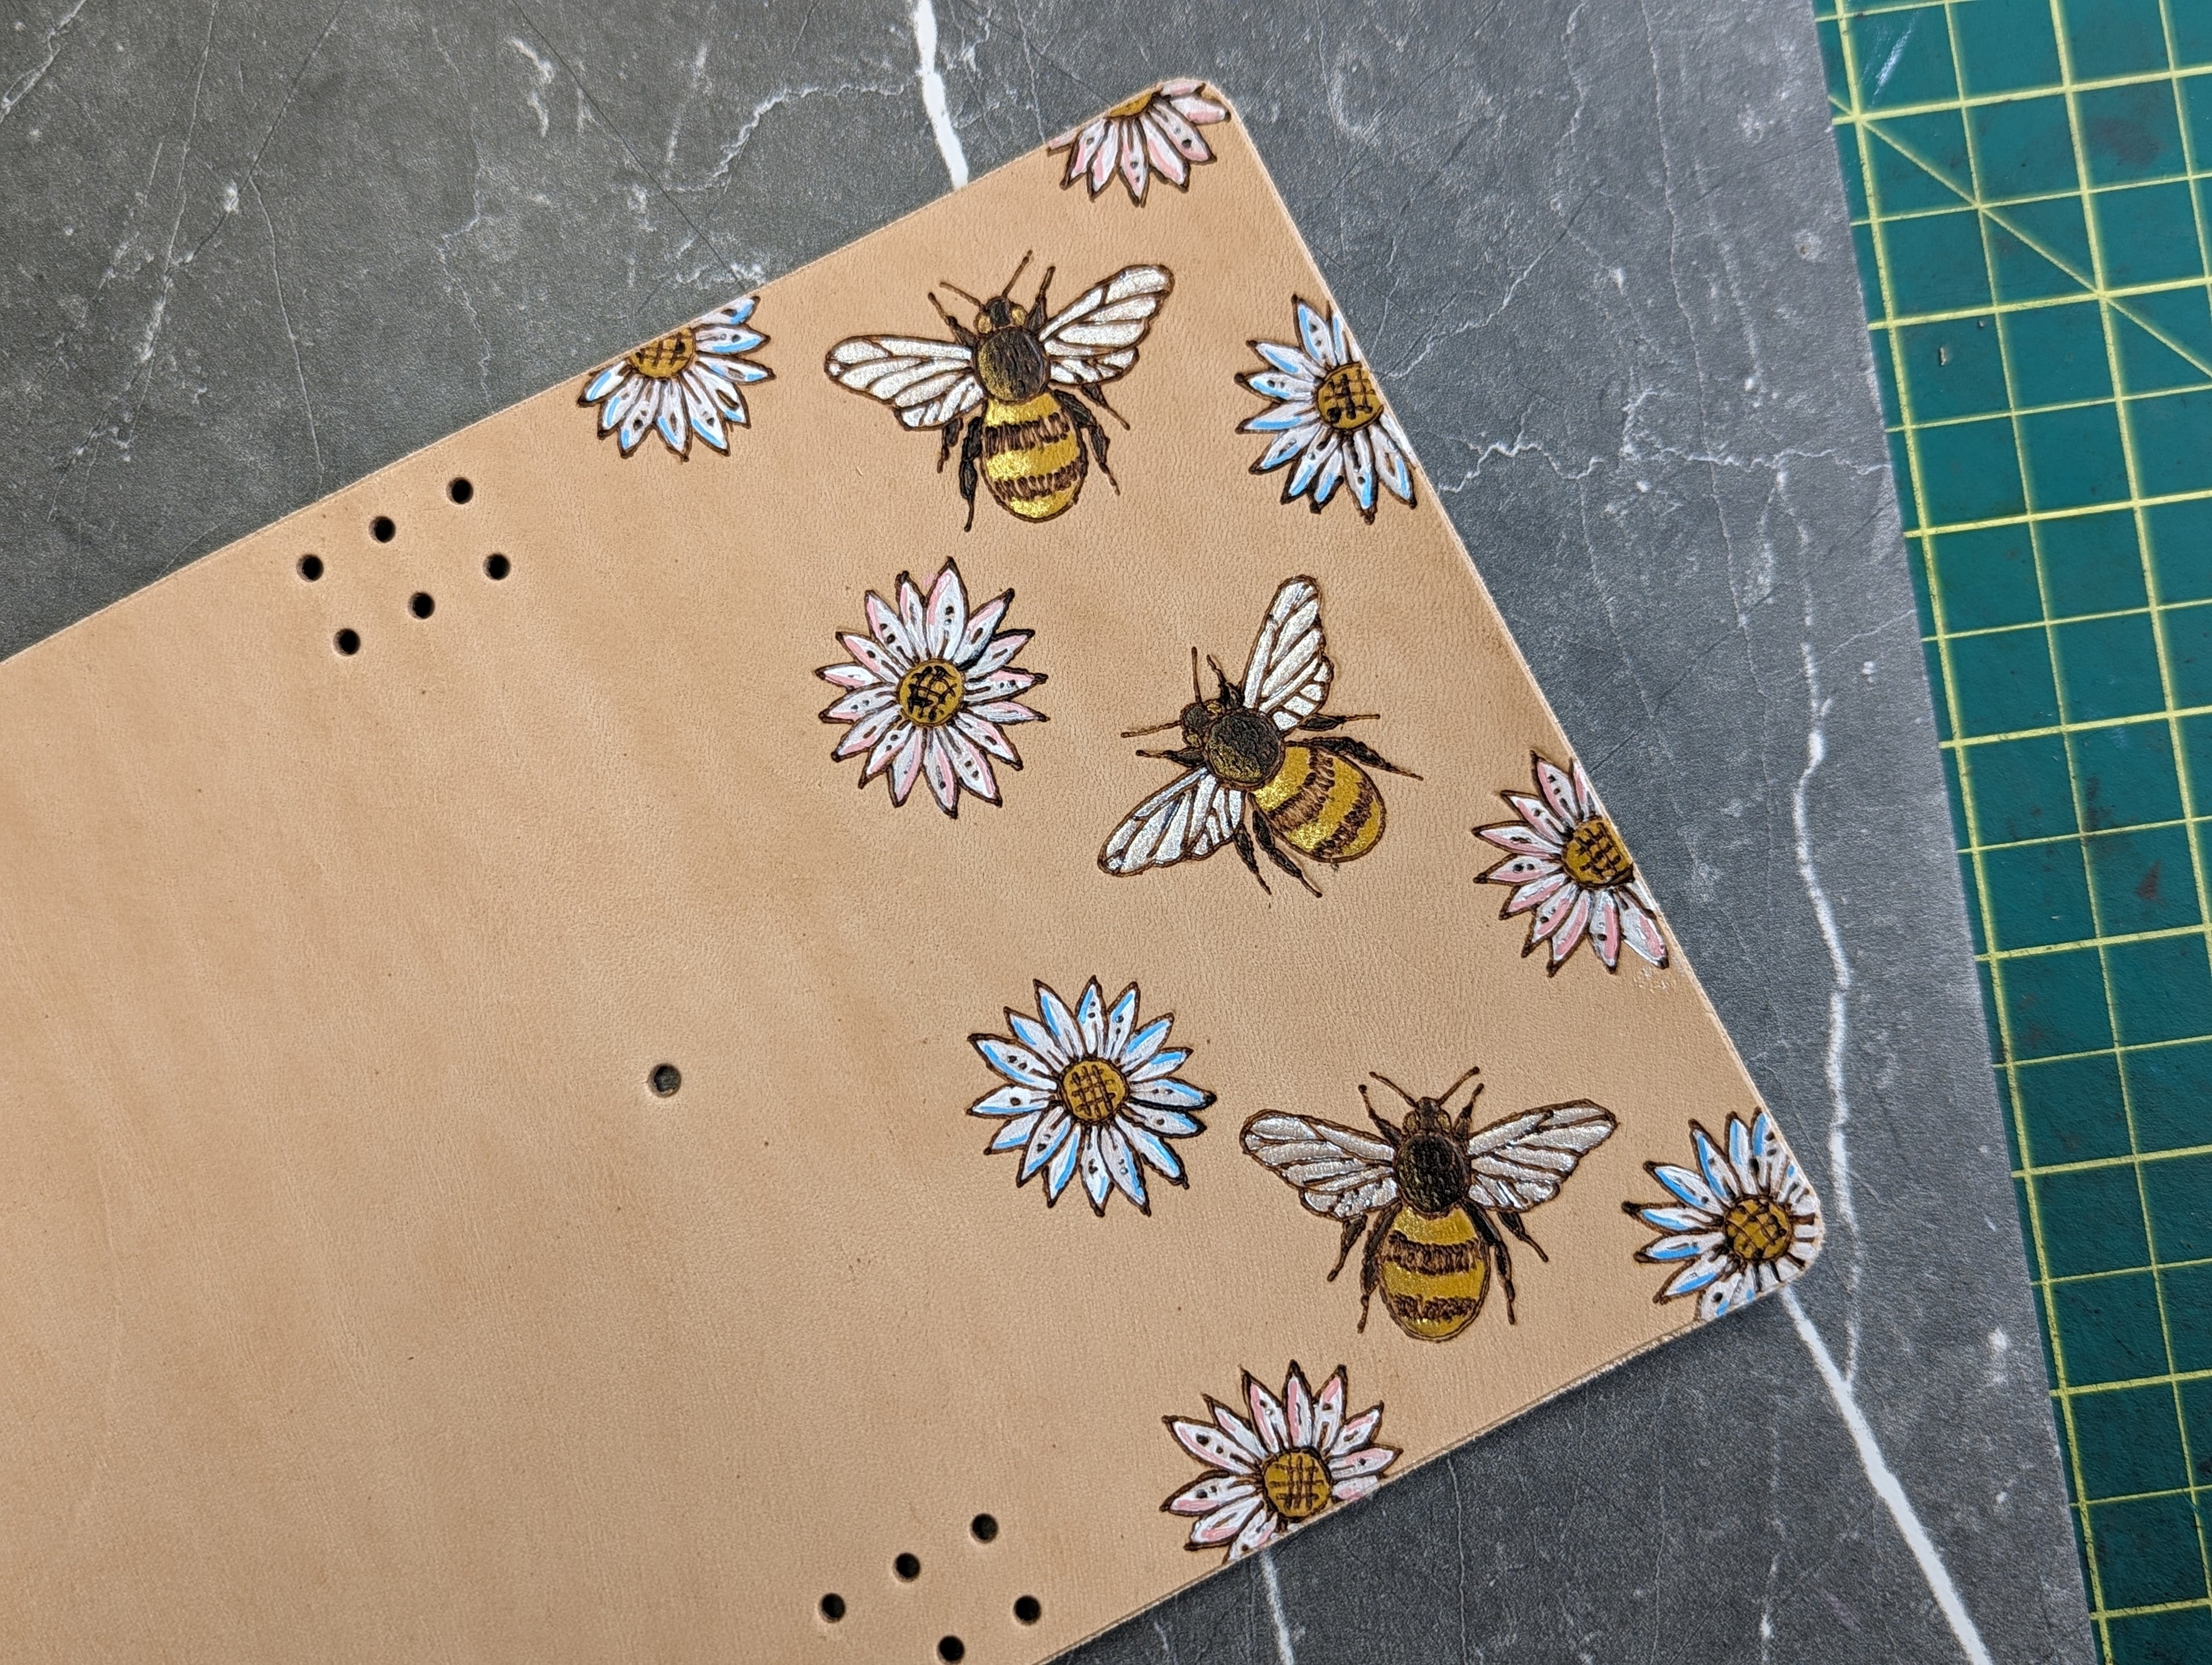
The cover design is drawn on polyester film (commonly known as mylar), which is then placed over the cased leather. A stylus is used to trace the design through the film, leaving an impression in the damp leather.
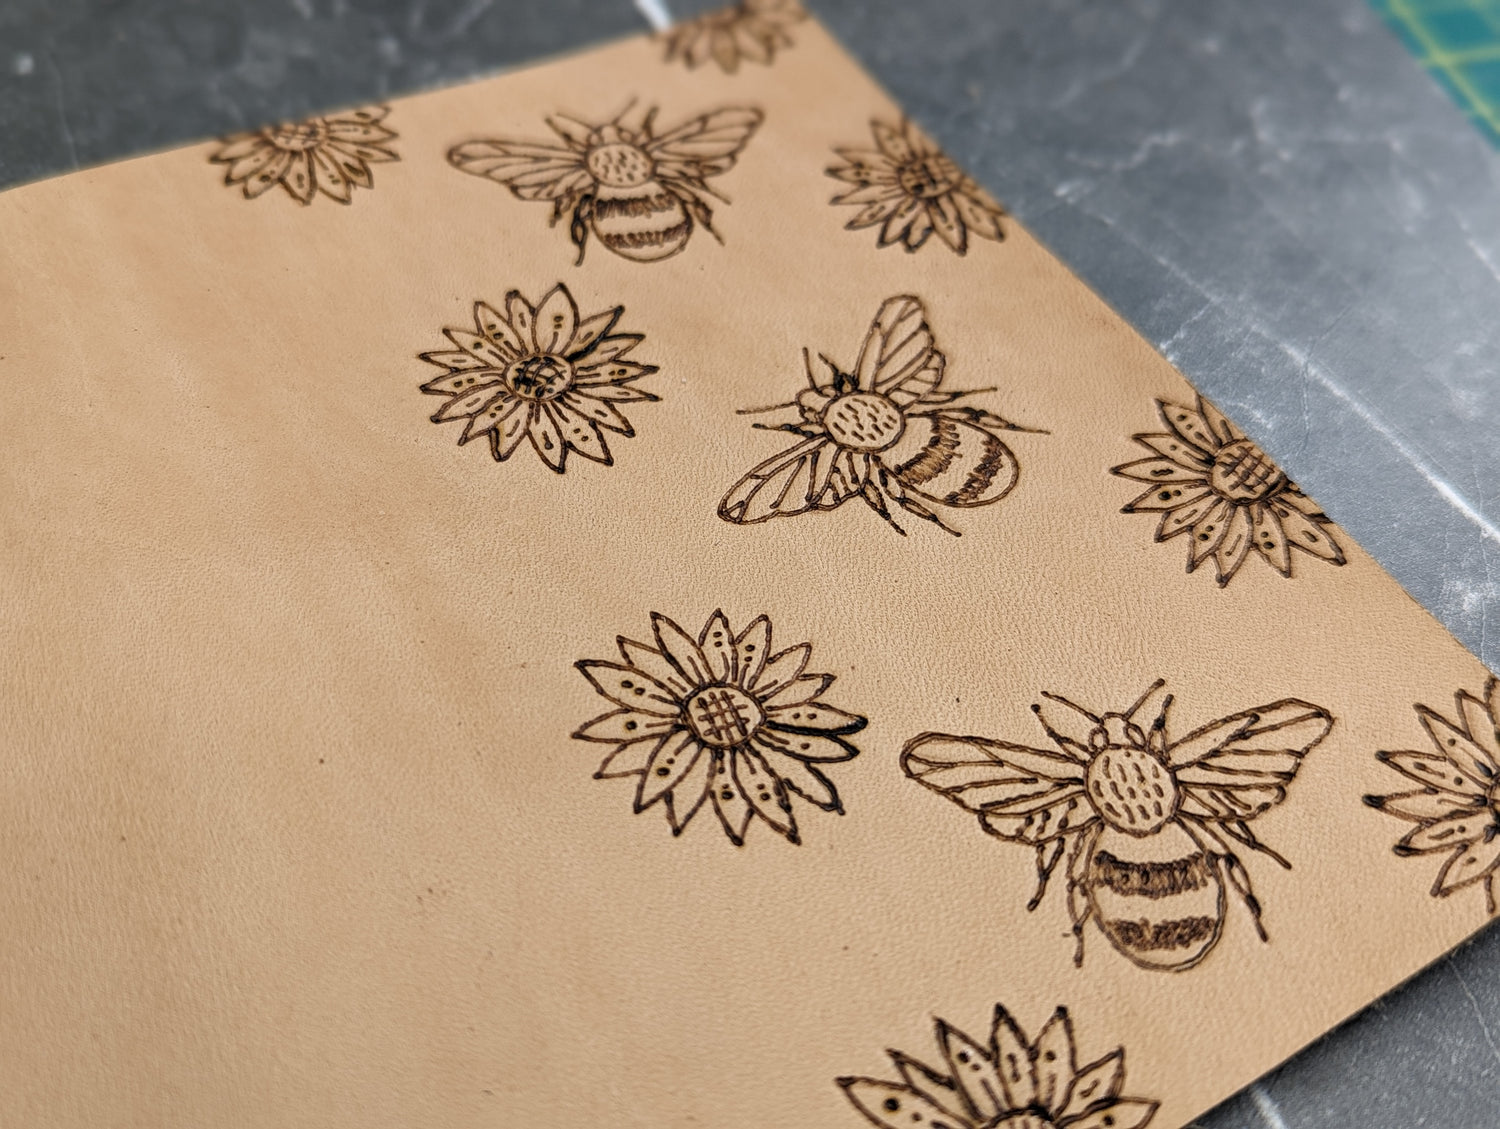
The leather is left to dry completely. Once the leather is dry, I use a soldering iron or wood burning tool to burn the design into the leather, using the previously done stylus tracings as a guide.
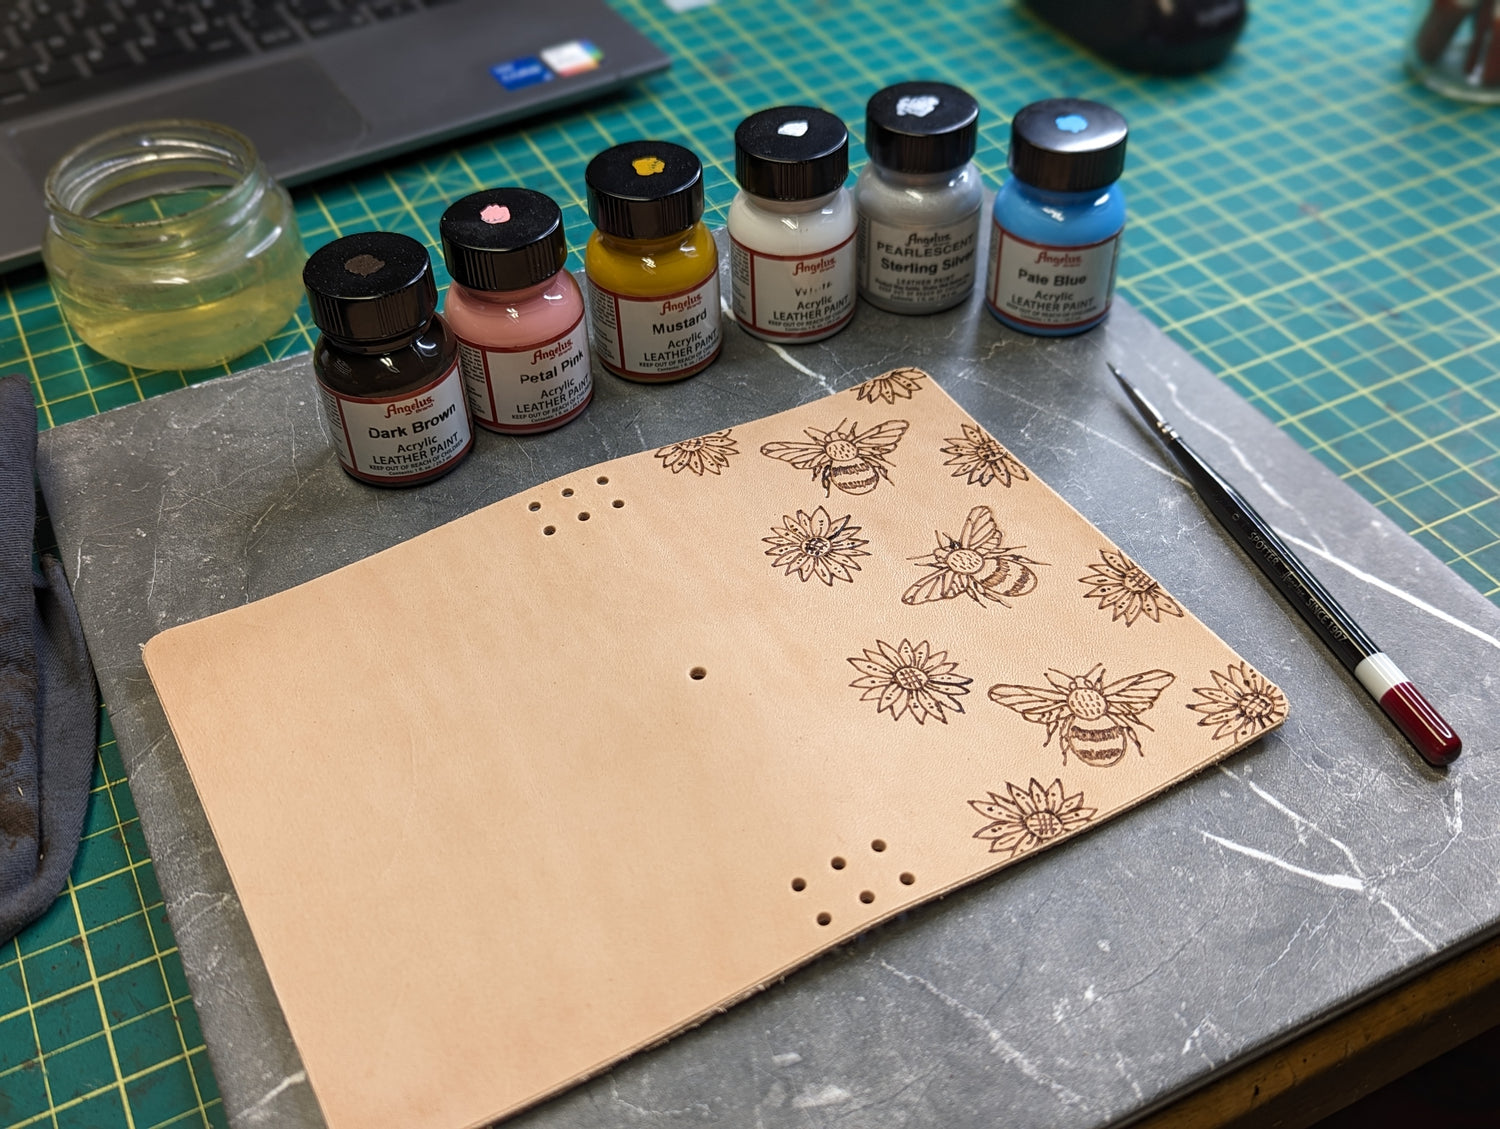
Now it's time to add some colour! For this cover, I have chosen to use Angelus brand acrylic paints, which are made specifically for use on leather. Every time I make one of these covers, I like to paint it just a bit different.
You may have also noticed that I have rounded the corners of the cover, and punched the holes for the elastic.
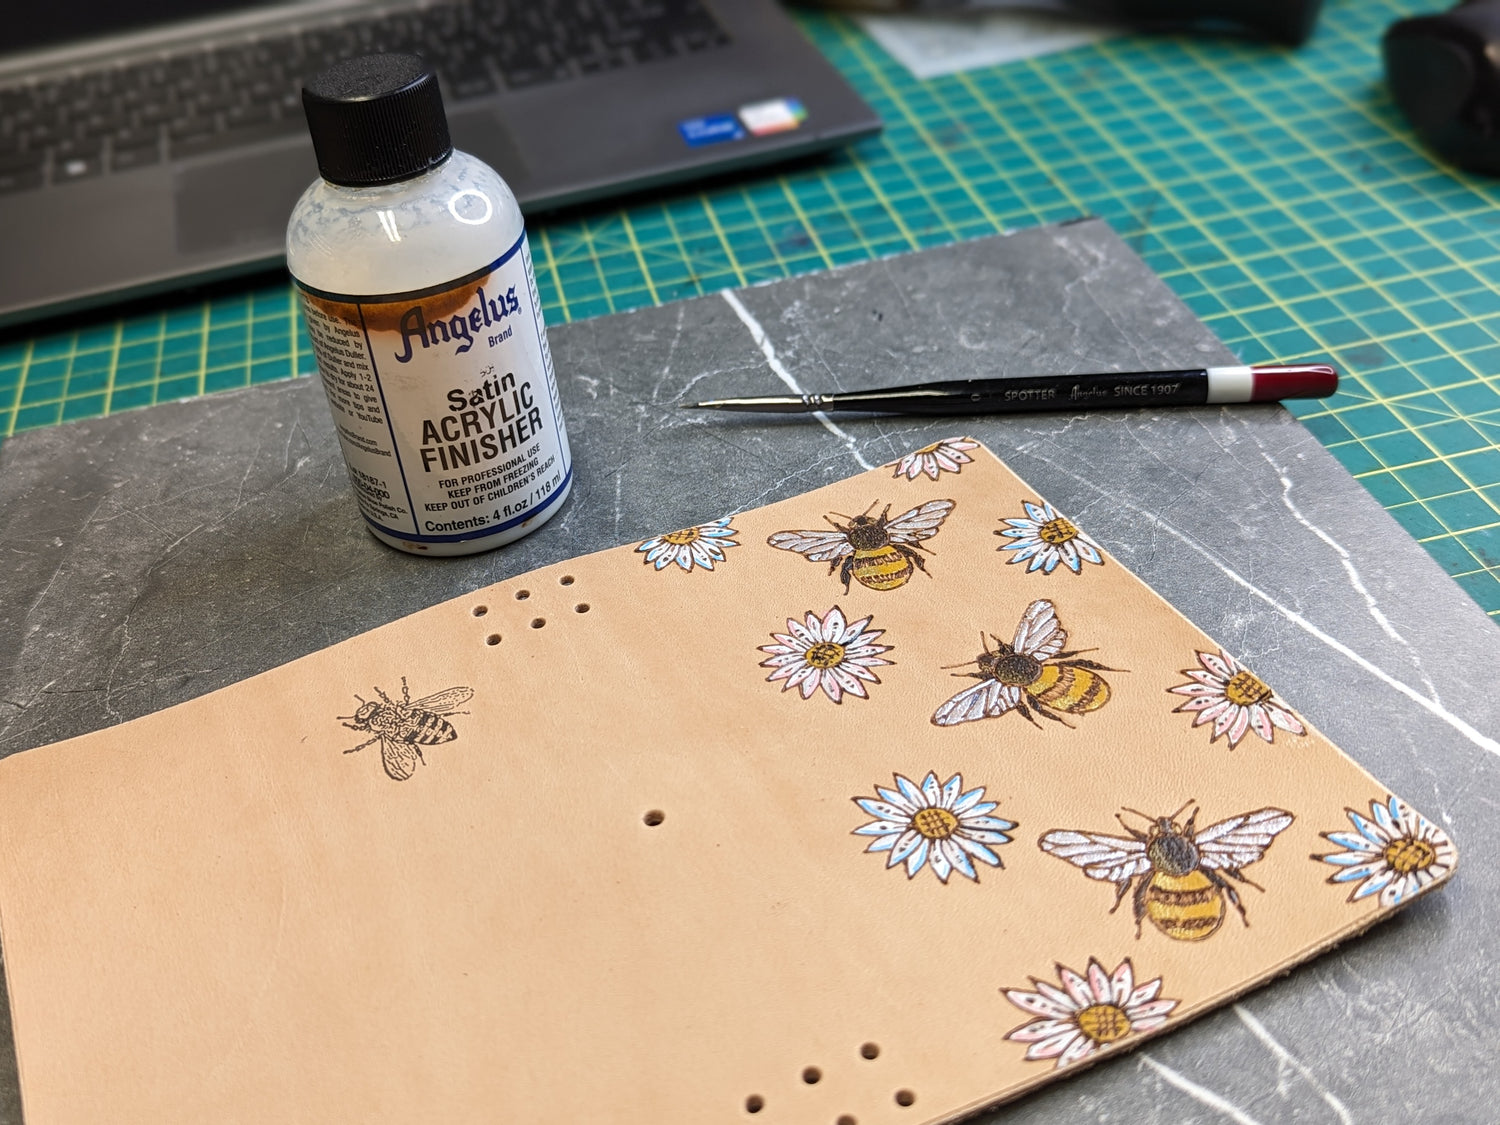
Once the painting is complete, I can chose to leave the remaining leather natural, or add additional colour. For this cover, I decided to apply a stain. I really enjoy this part, as the stain often brings out unique characteristics of the leather.
In order to preserve the brightness of the paint, I sealed the the painted bits with an acrylic finish. The piece is left to dry overnight.
After ensuring the acrylic sealer is completely dry, I work the stain into the leather with a sponge. The stain will absorb into any leather that isn't sealed, and leave the sealed parts bright.
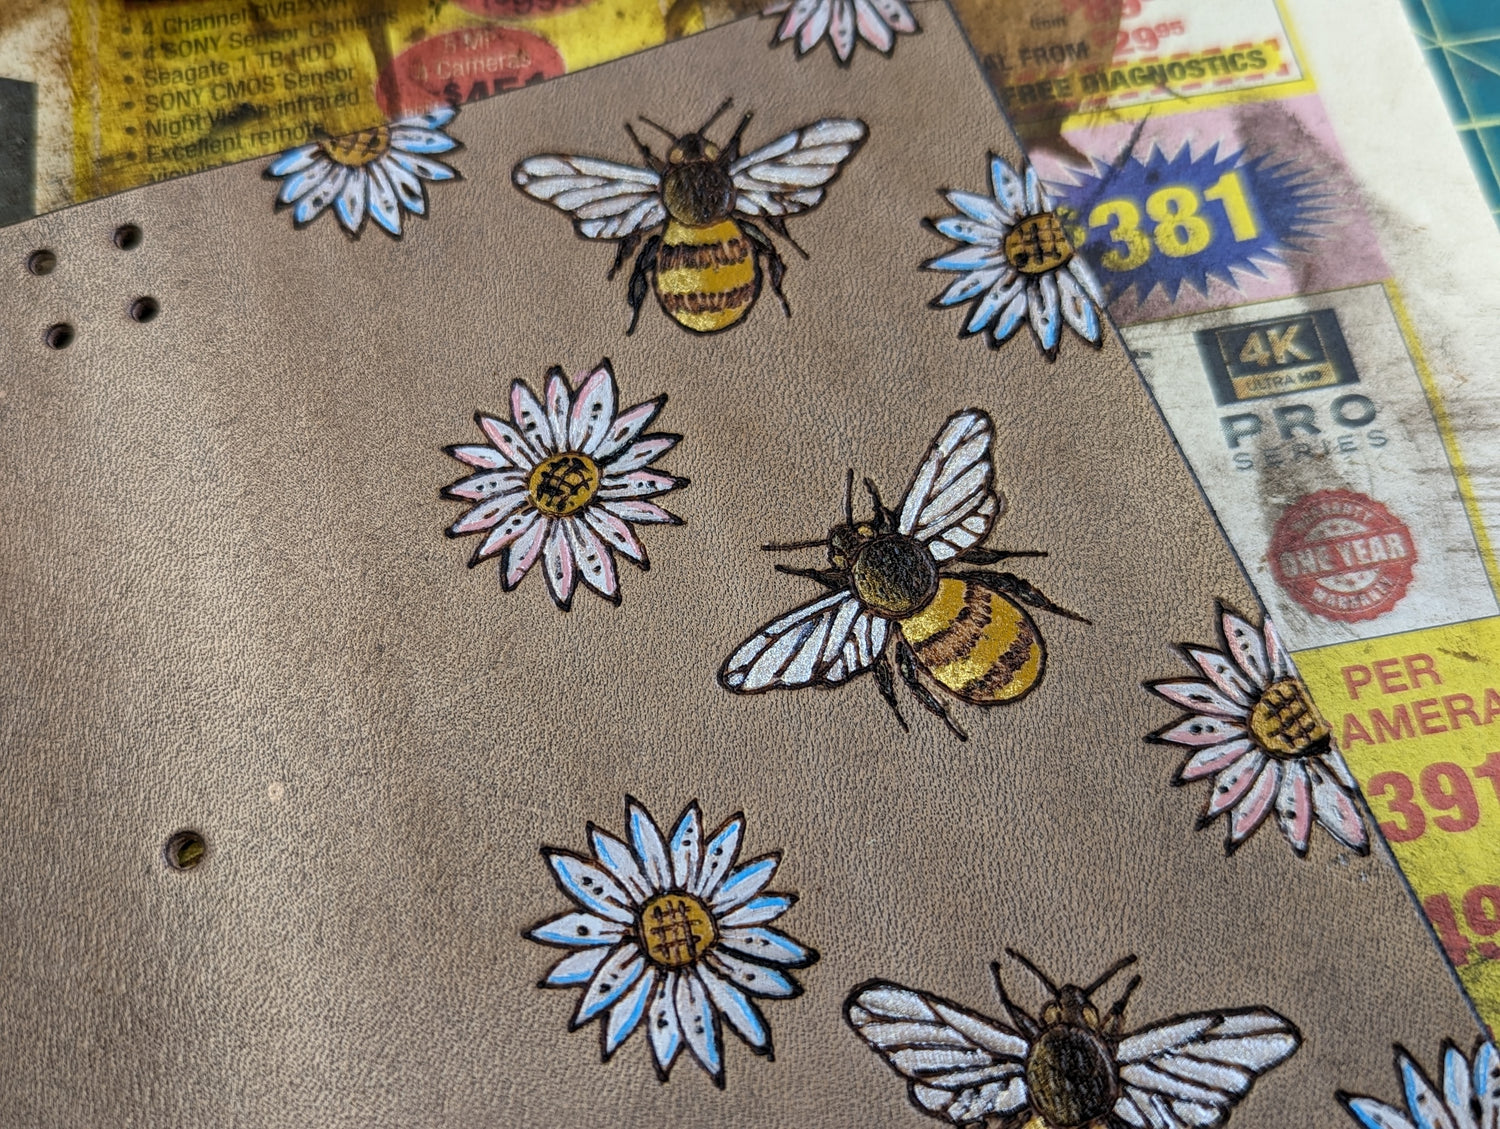
I also take this time to stain the edges, and interior of the cover.
Once the stain has been applied, and allowed to dry, the entire cover is sealed, inside and out, with a water-resistant wax finish.
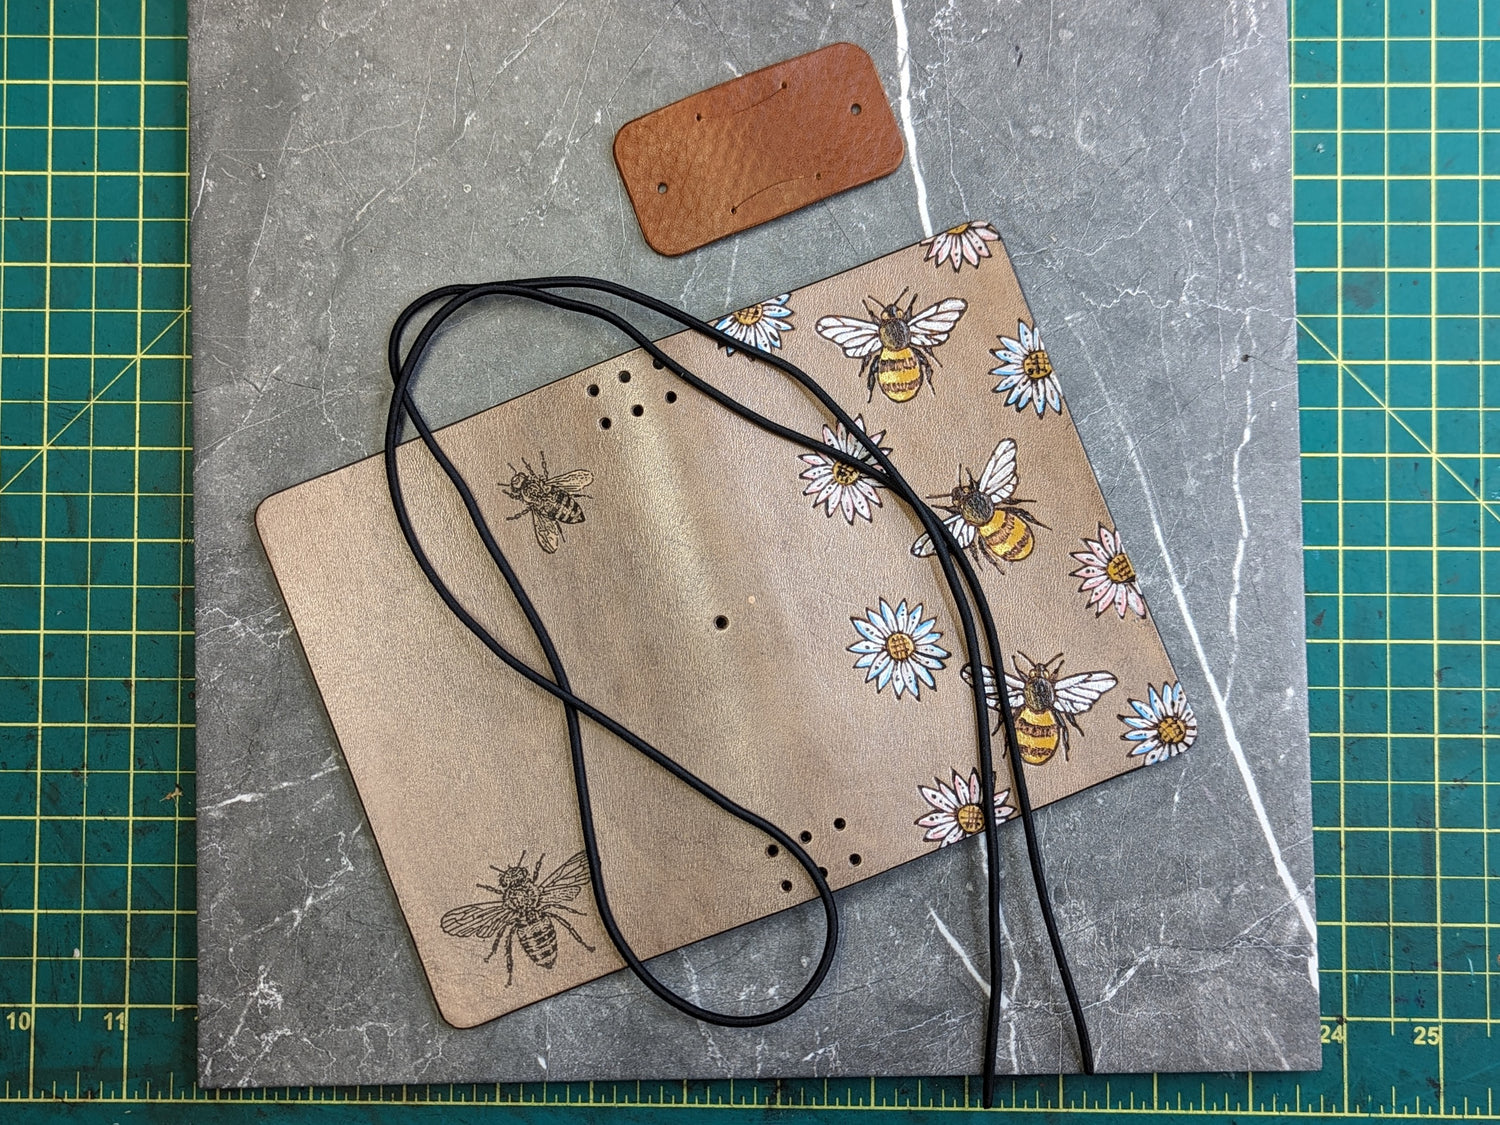
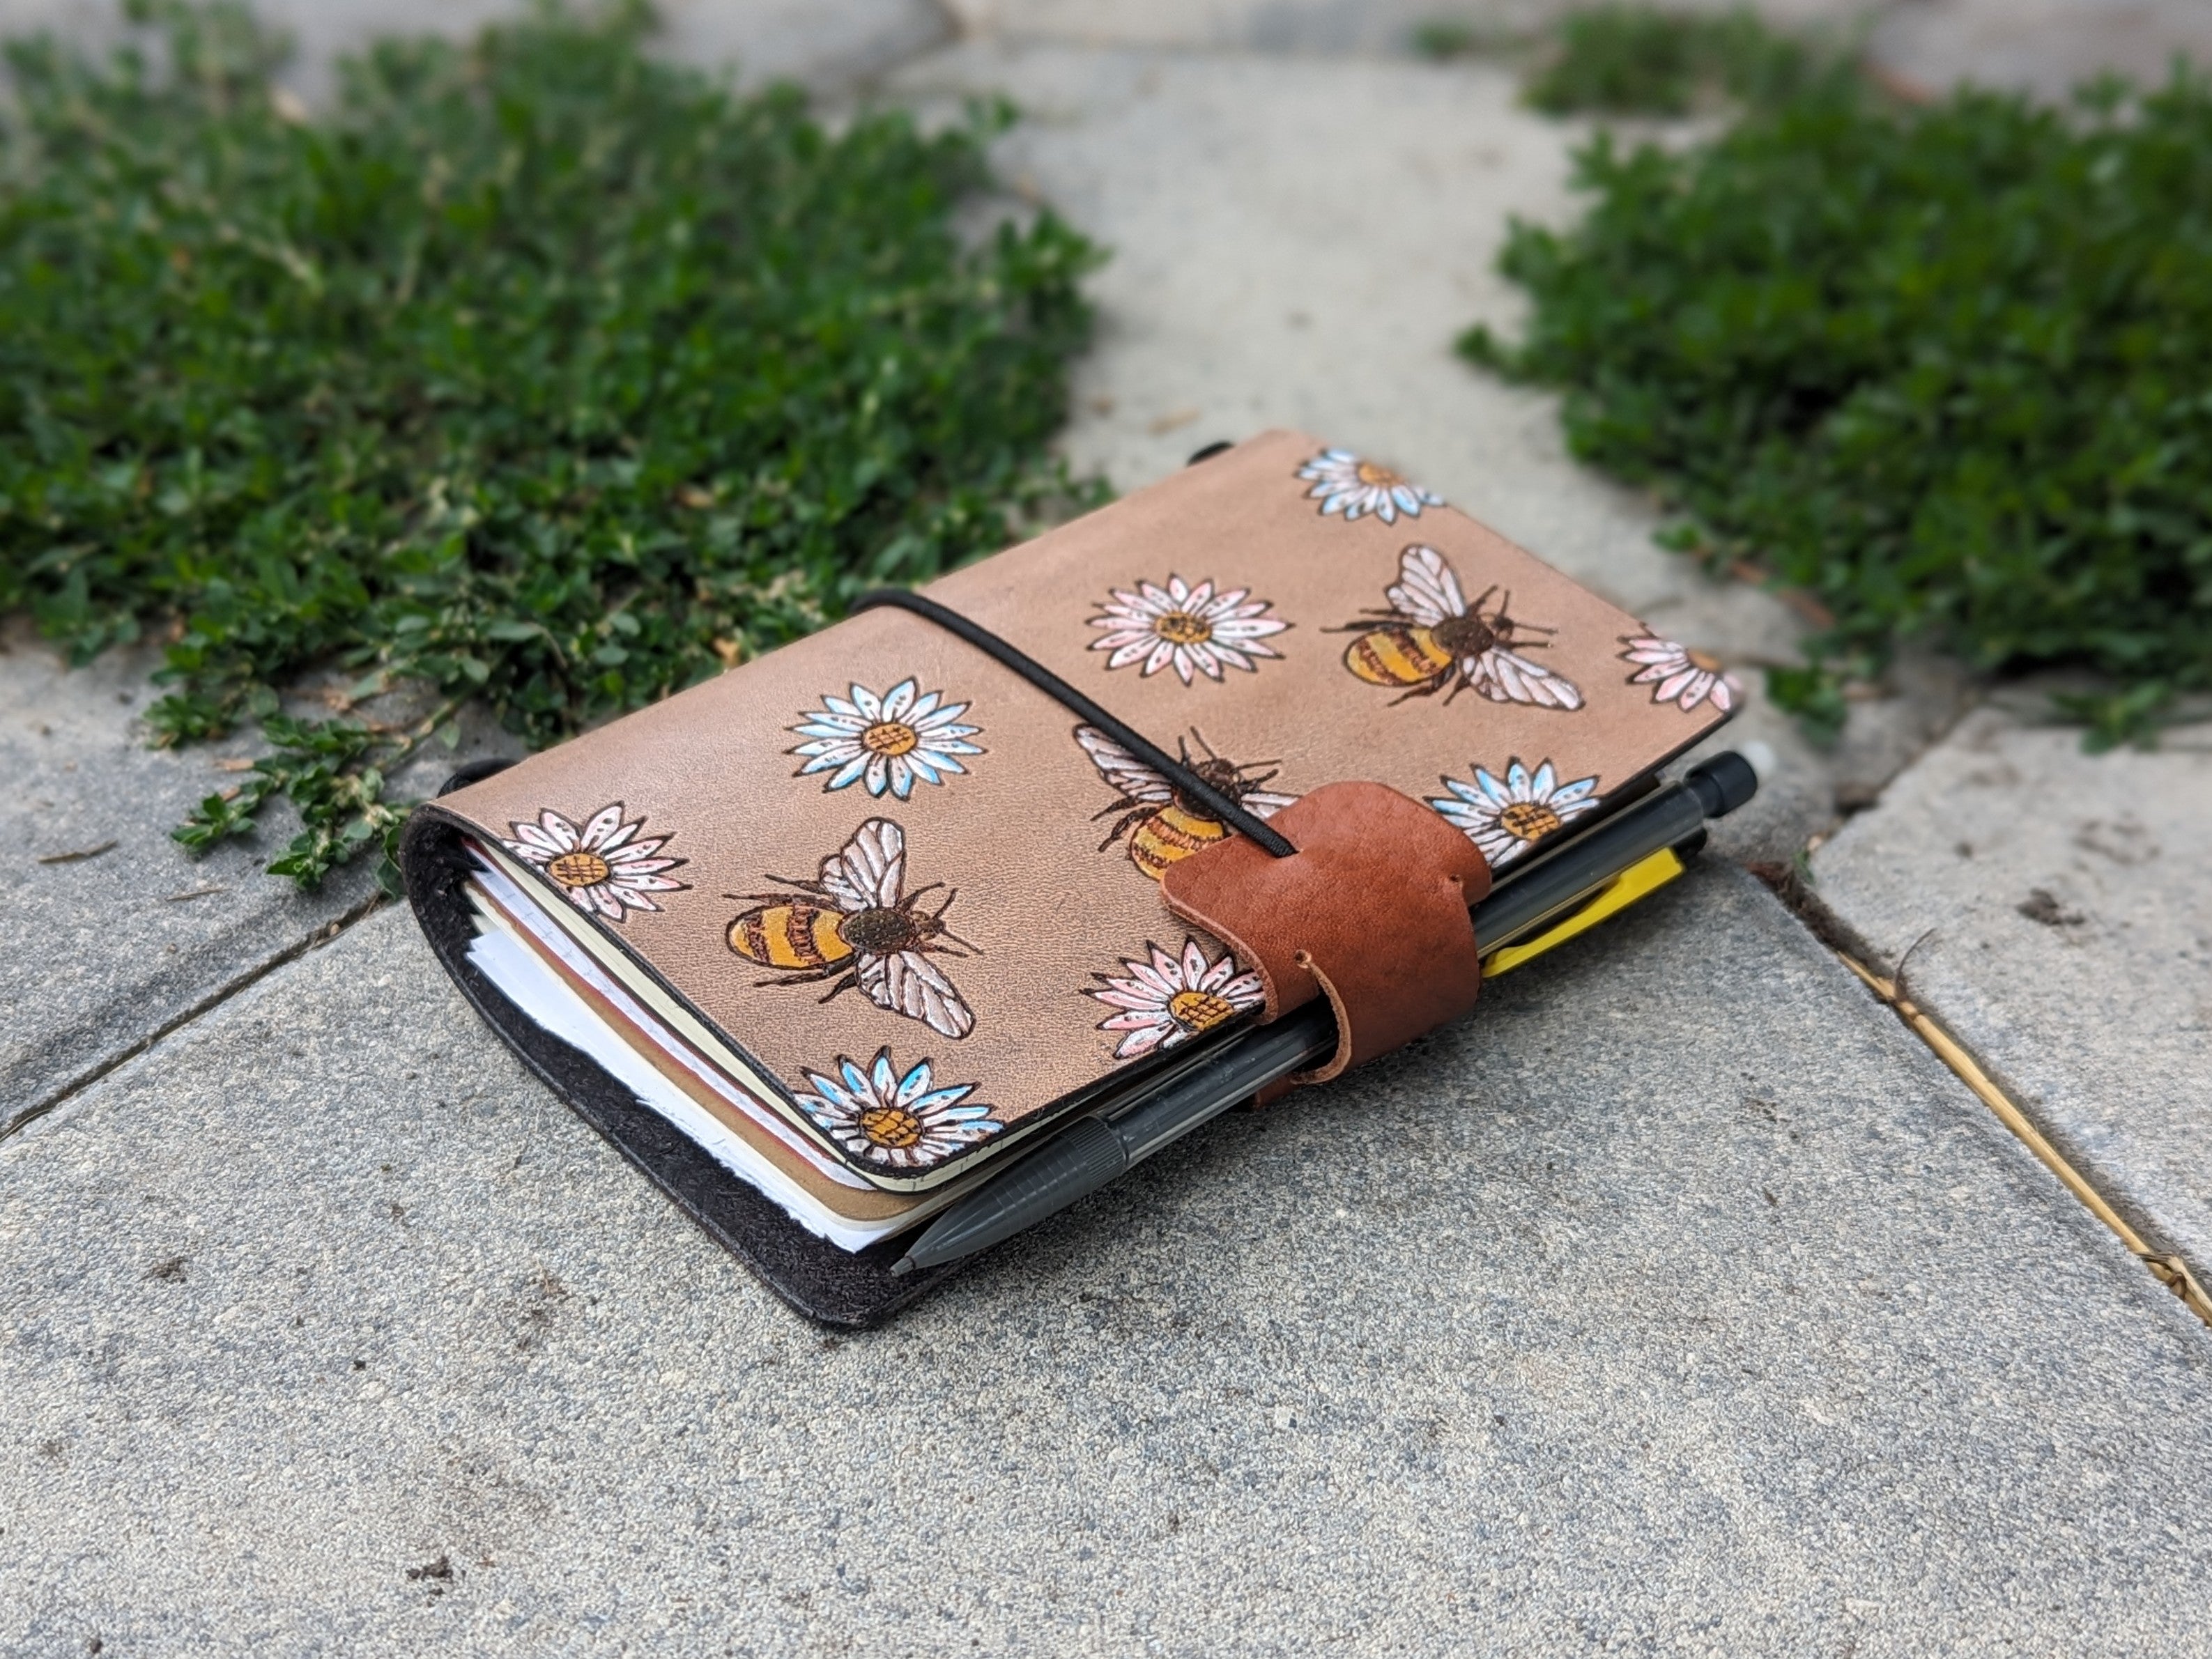
Now that the cover is complete, the last step is to install the the leather tab (which doubles as a pen loop), and the elastic that will hold the notebooks in place.
You may also notice some additional bees on the back of the cover - this is an experiment to see how well archival ink stamping will last, on something I use every day. So far it's been holding up wonderfully!
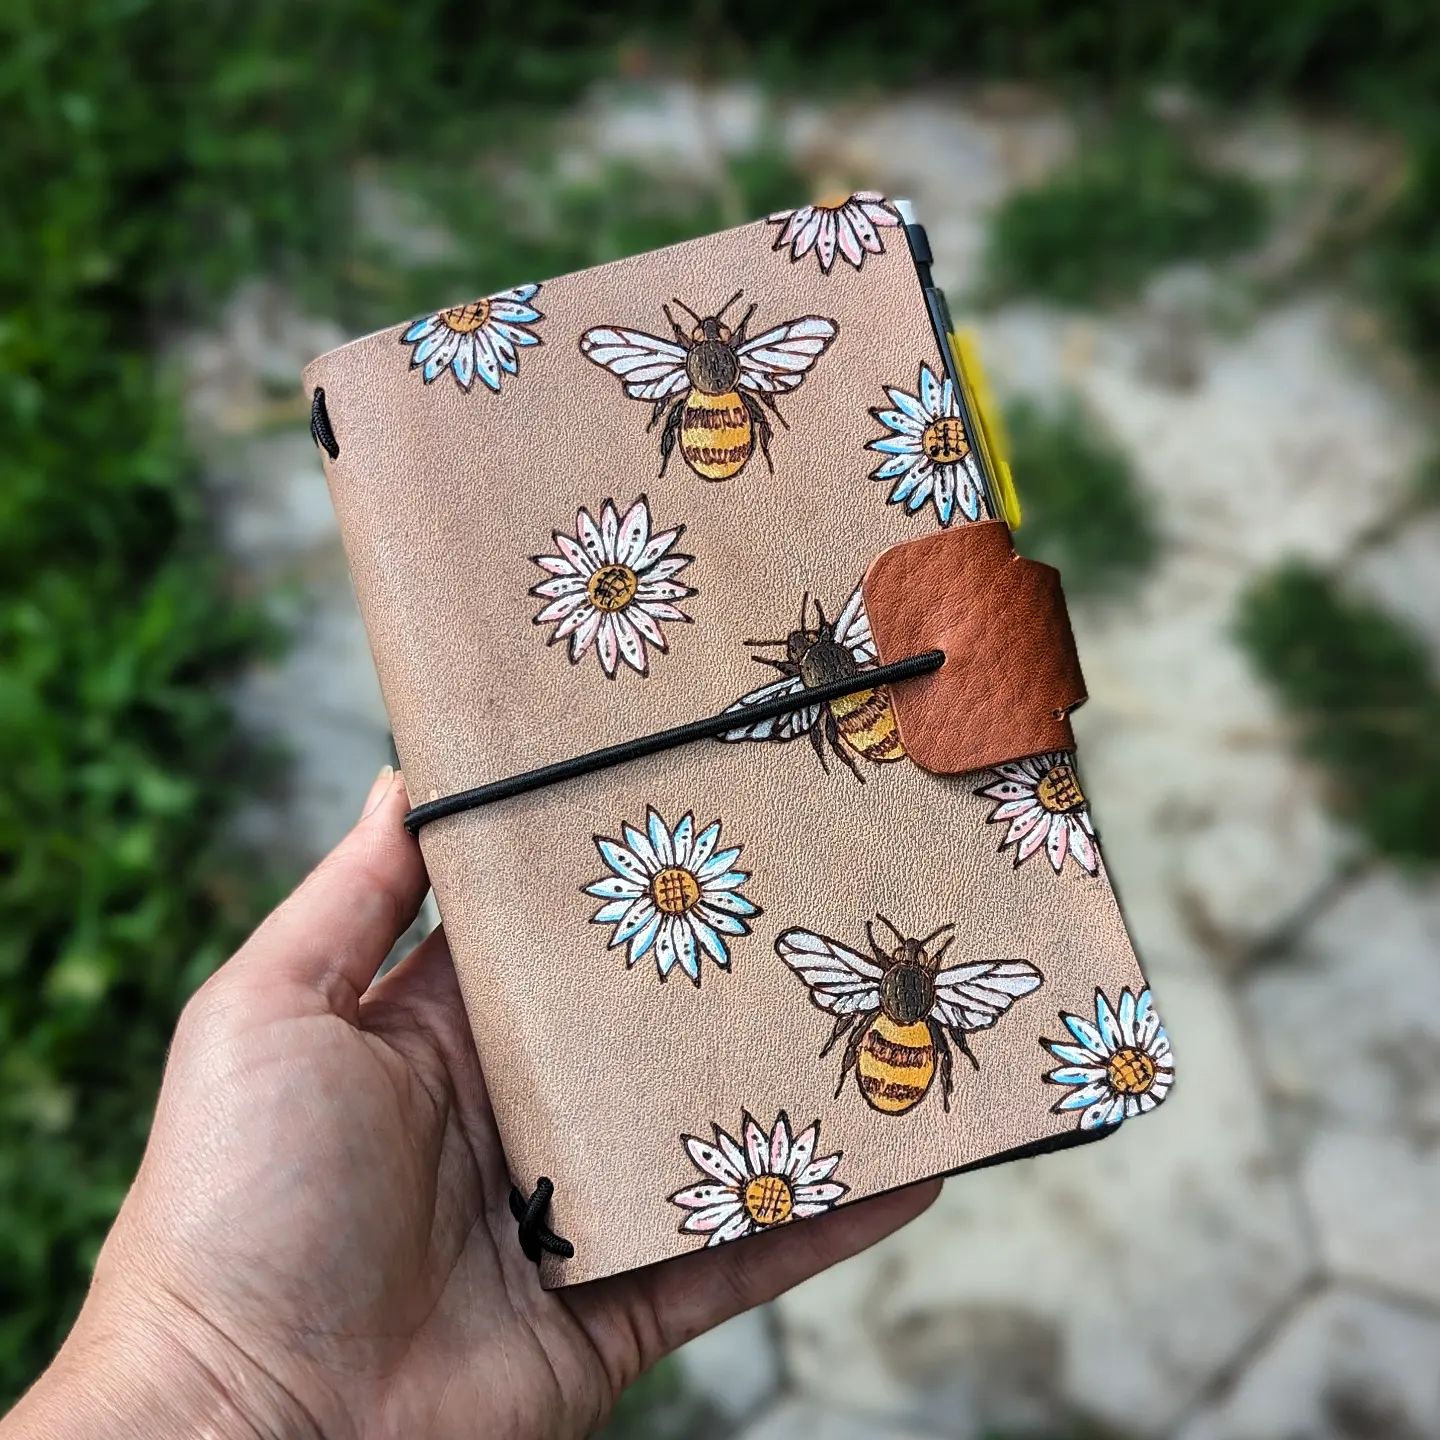
The traveller's notebook cover is complete!
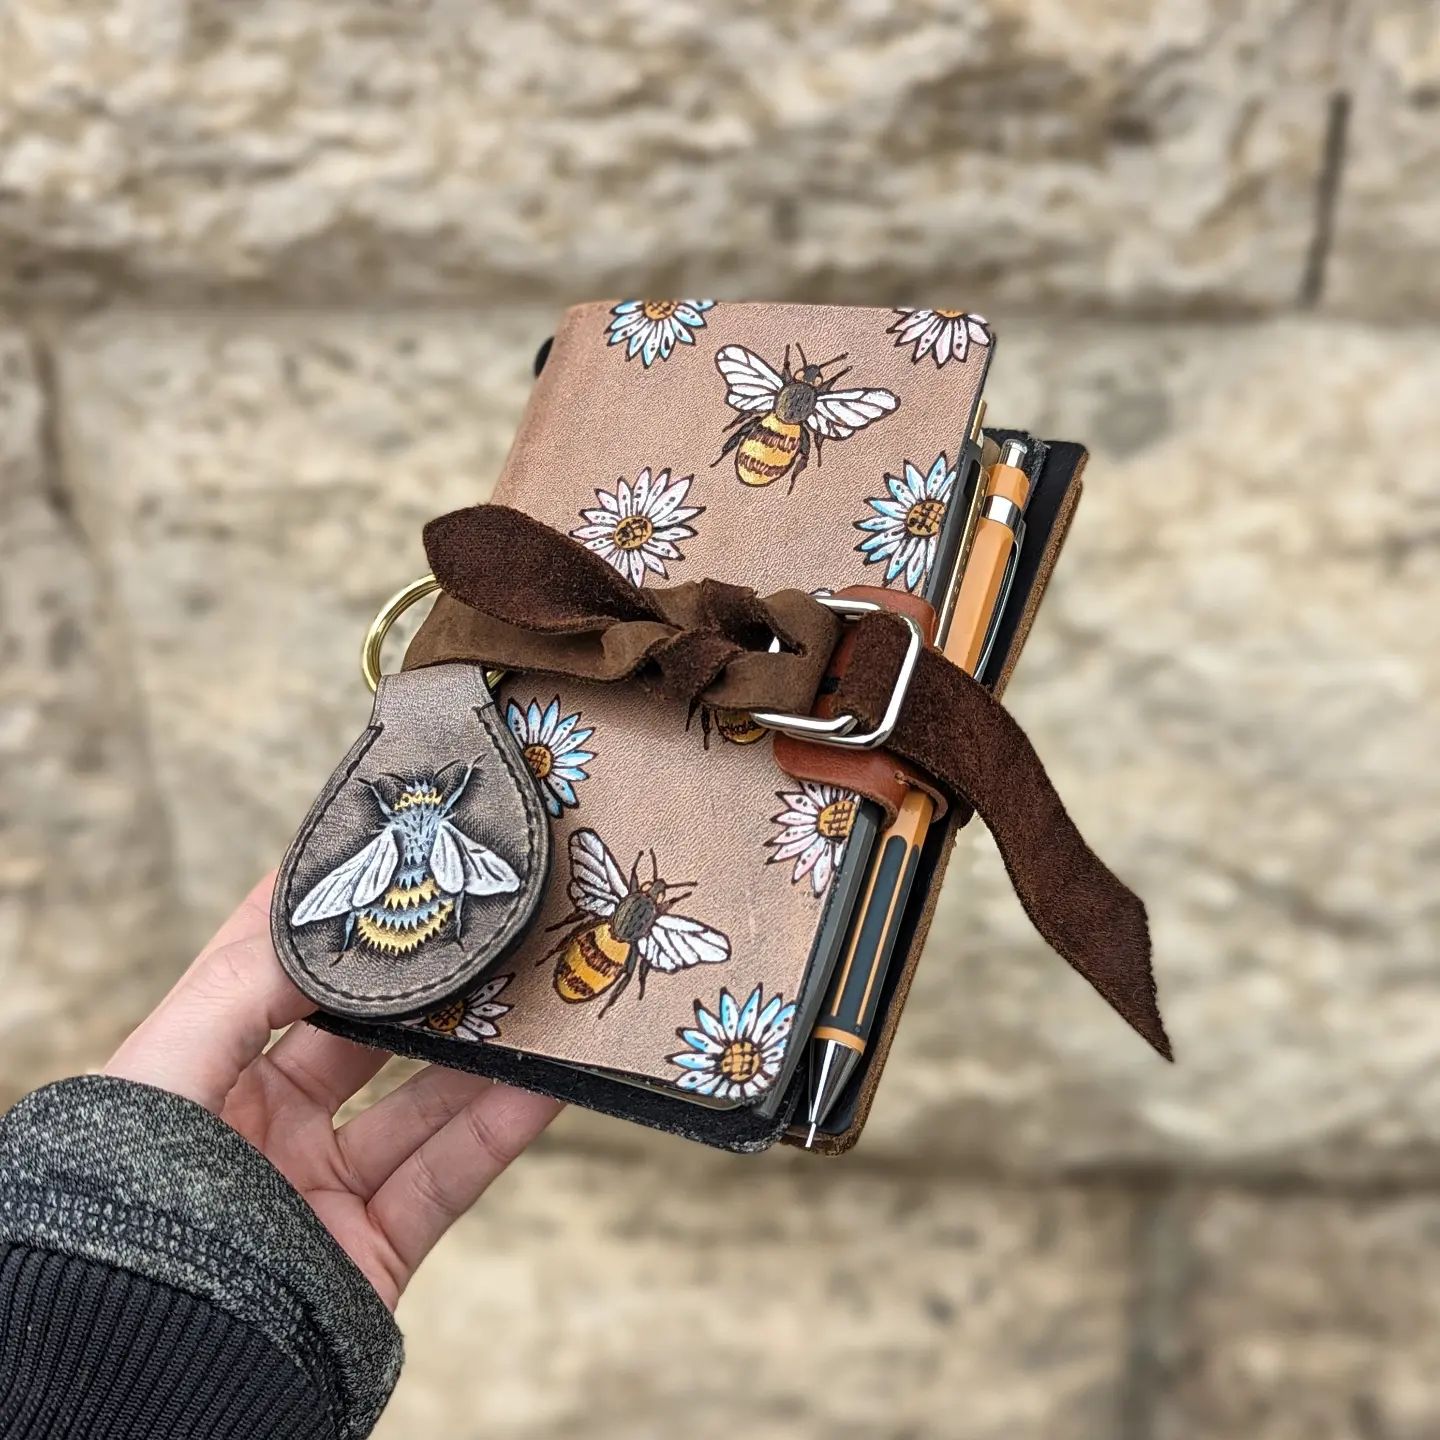
Now it's time to load it up with notebooks, writing or drawing utensils, and other inserts!
Want to see more about how the traveller's notebooks are set up? Check out this blog entry, 'Setting up your Traveller's Notebook'!